Learn how to make a simple DIY laptop stand for a desk using scrap wood with this easy to follow tutorial. Your neck and back will thank you! It is also a great beginner project and gift idea!
This project has been a long time coming.
Almost 2 years ago, I built myself a desk that I love!
My work set up uses a large monitor tethered to my laptop in a dual screen mode – which by the way, if you haven’t tried, you have got to!
Unfortunately, there was one problem; the laptop screen wasn’t at the same level as the monitor.
For a good ergonomic posture and really to help your eyes travel from one screen to the next, the two screens should be roughly at the same height.
I temporarily solved it by putting a few of my old books to good use. Sometimes you work with what you’ve got!

What if you don’t have a monitor tethered? You still need this to make the laptop screen at eye-level for ergonomic reasons. You should NOT be hunching over looking down at a screen. Yes, you will need an external keyboard and mouse but all of that will help your shoulders and back. Trust me!
It was high time to fix the situation with a permanent solution.
I went into my workshop aka garage and whipped up a quick project using scrap wood.
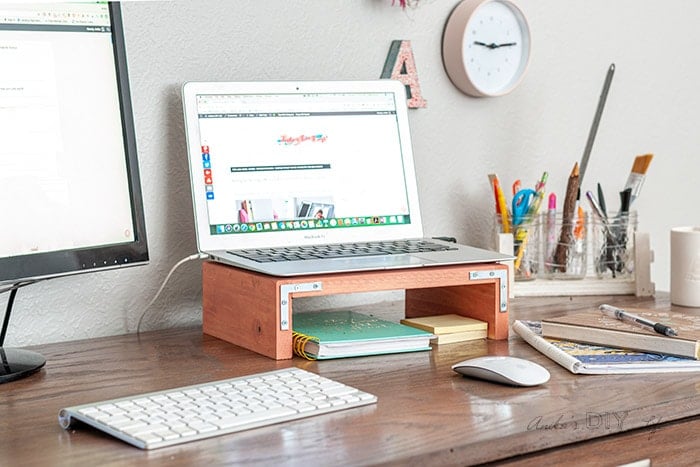
Materials needed to make a DIY laptop desk stand
- Lumber cut per plans
- Miter Saw
- Orbital Sander
- Flat Metal Corner Braces
- Color or stain of your choice.
- Wood glue
- Nail Gun (or hammer)
- 1 ¼″ finish nails
DIY Laptop Stand Plans
Grab a copy of printable plans to build this DIY laptop stand by clicking the button below.
How to Make a Wooden Laptop Stand
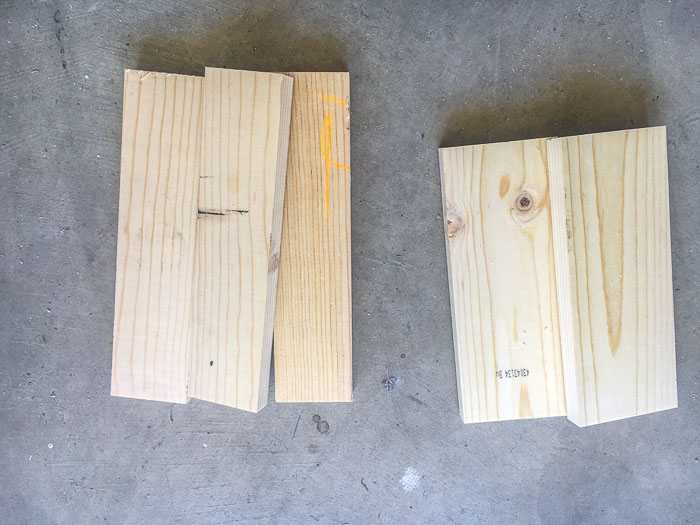
Step 1: Cut the boards
Using a miter saw cut the 1×4 and the 1×3 board per the cut list.
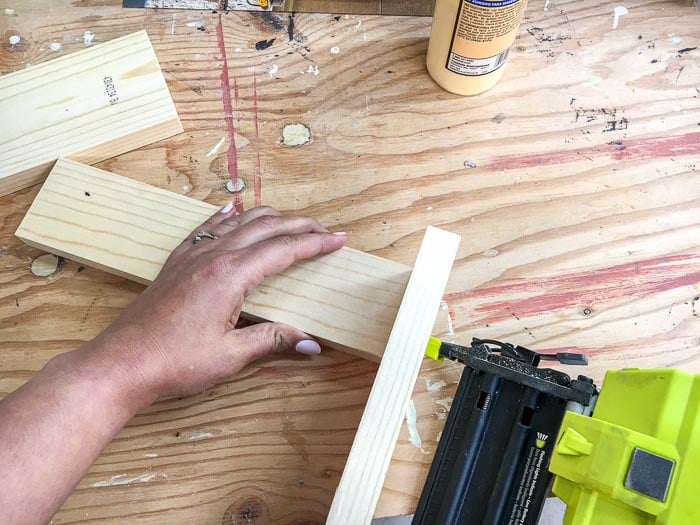
Step 2 – Attach the first board to the side
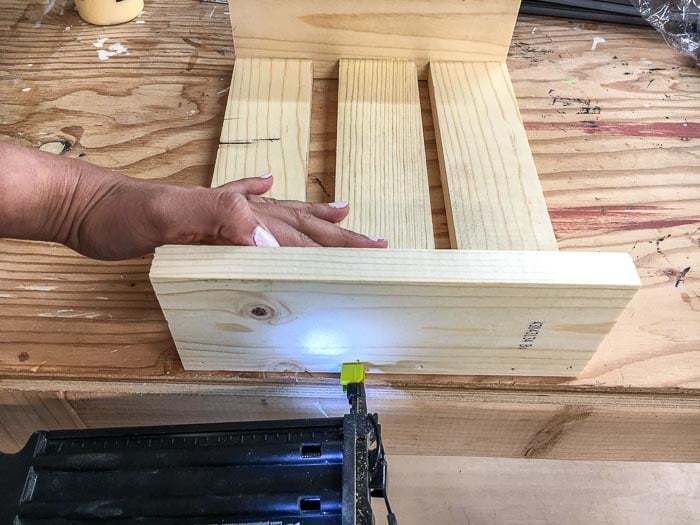
Start by attaching one 1″ x 3″ board to the 1″ x 4″ board at a right angle using wood glue and finish nails (as shown below.)
Step 3 – Attach rest of the slats
Layout and attach the rest of the 1″ x 3″ boards with ¾” spacing between them.
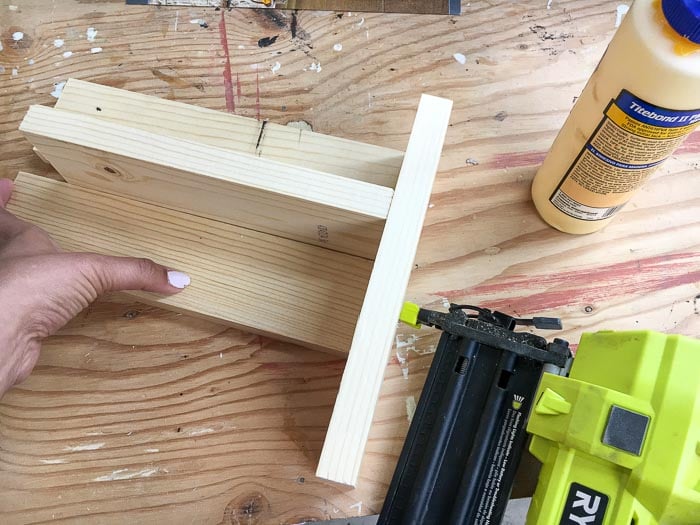
TIP – Use a scrap ¾″ thick board to get the right spacing every time.
Step 4 – Attach the other end-board
Attach the second 1″ x4″ board to the other end of the 1″ x 3″ boards using wood glue and finish nails
Step 5 – Paint and Finish
Paint or stain the color of your choice (I chose to paint my stand with a coral wood stain to add some color to my workspace.)
I also added a little industrial detail by attaching metal corner braces
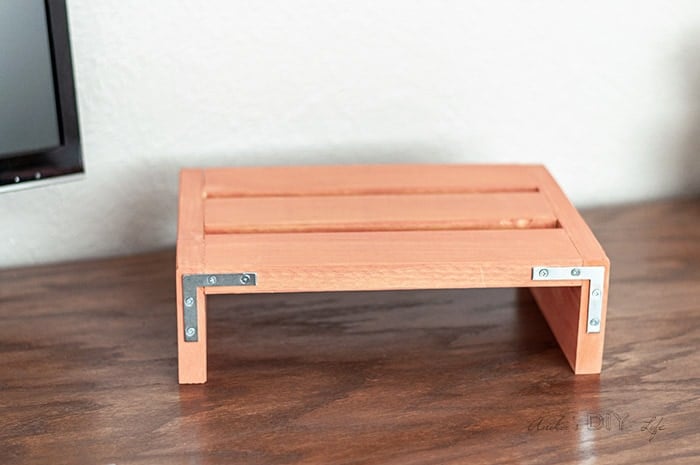 And we are done!
I love the functionality of my new wooden laptop stand!
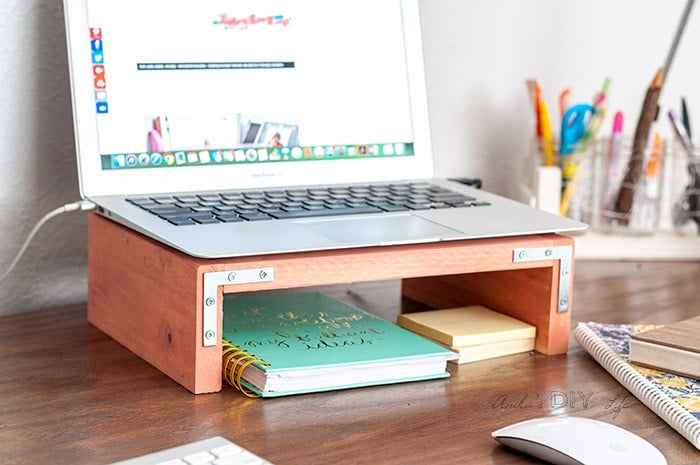
My desk looks a lot less cluttered PLUS I have space underneath to keep notepads and sticky notes.


0 Commentaires